Author: Marci

Mother of 2, environmentalist, fitness enthusiast, science geek focused on researching all facets of nutrition, gardener, lover of life and fun!

Vegan Chocolate Mousse with Coconut Whipped Cream

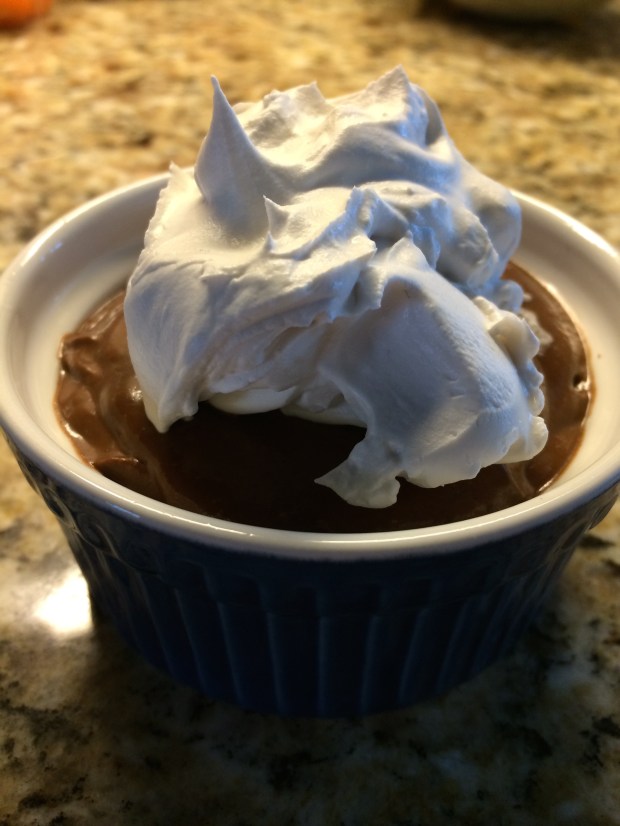
My kids love “treats” and sometimes feel deprived of the junk filled diets of many of their peers, especially my daughter who has dairy and gluten intolerance.  Since she just finished her first round of state mandated testing, I thought a special after school snack was in order, so I decided to make them Vegan Chocolate Mousse with Coconut Whipped Cream.

It was my first time to make both, so I wanted to wait until I got the dual seal of approval before posting it to my blog.  They were so excited, especially My Cupcake, who squealed when she learned she could actually have whipped “cream”. 😀


This recipe is very easy and a crowd pleaser.


Vegan Chocolate Mousse

2 Ripe Avocados (Pits removed and use only the meat)

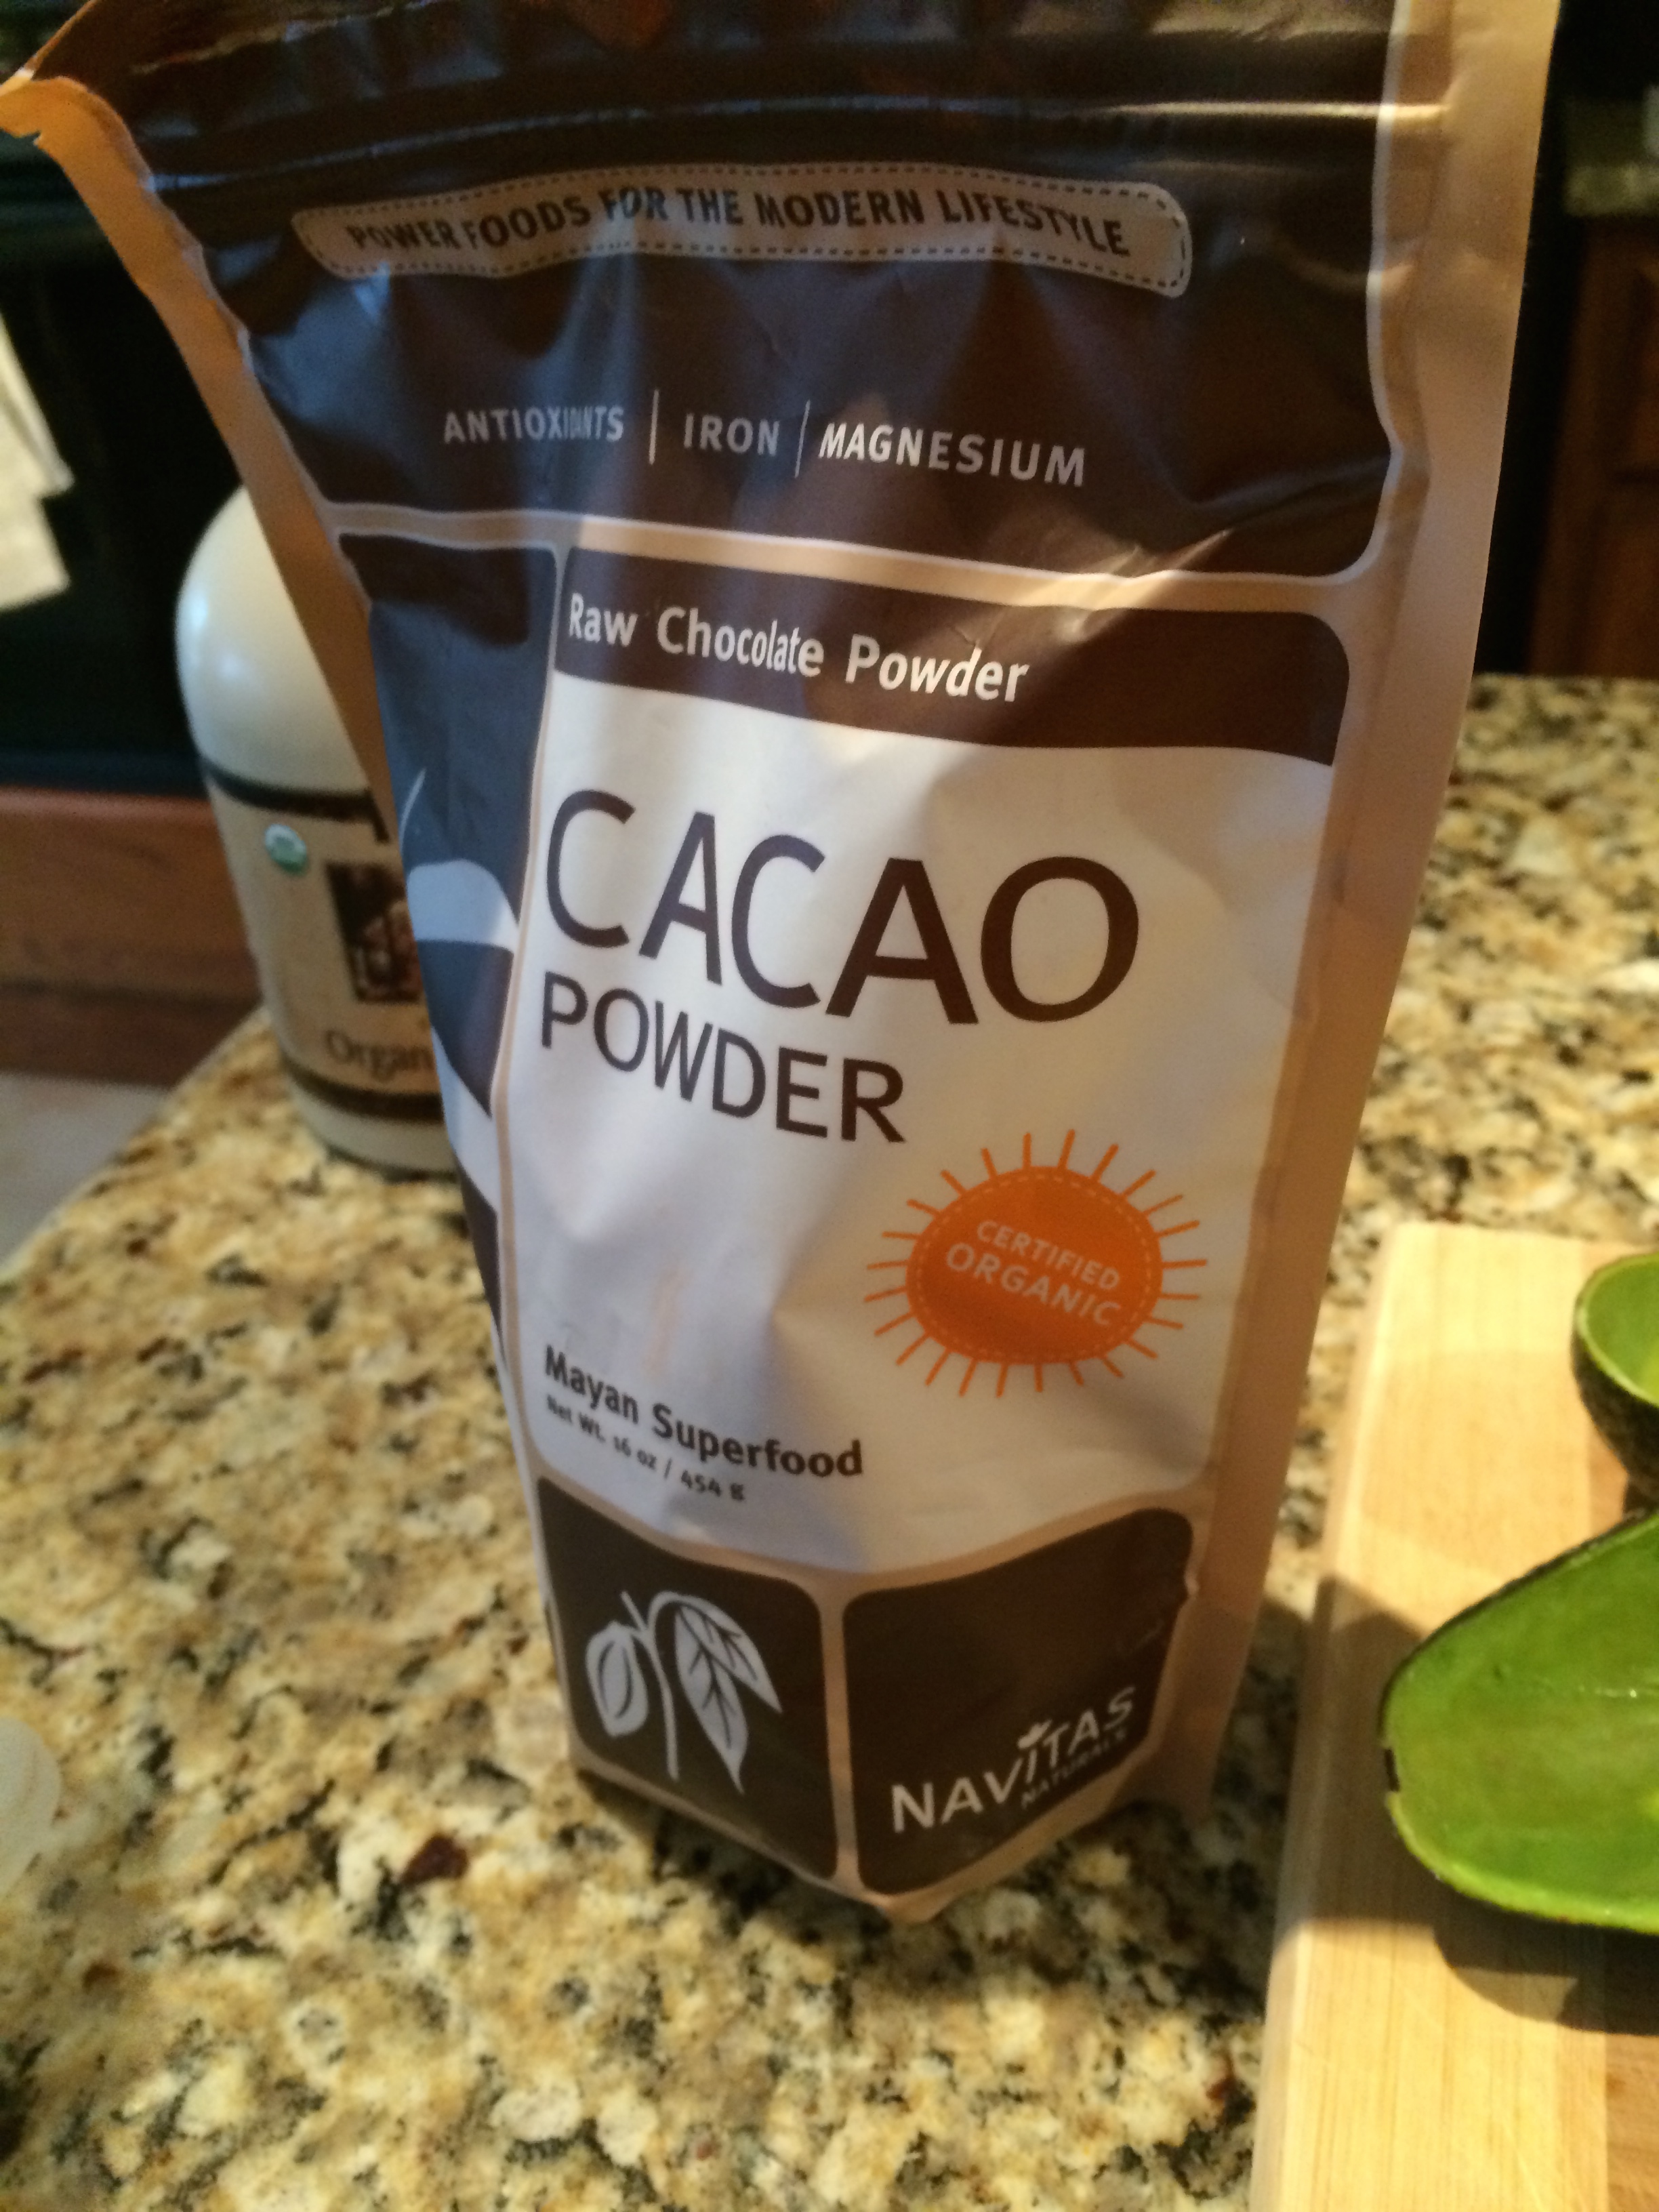
1/2 Cup Raw Cacao Powder *

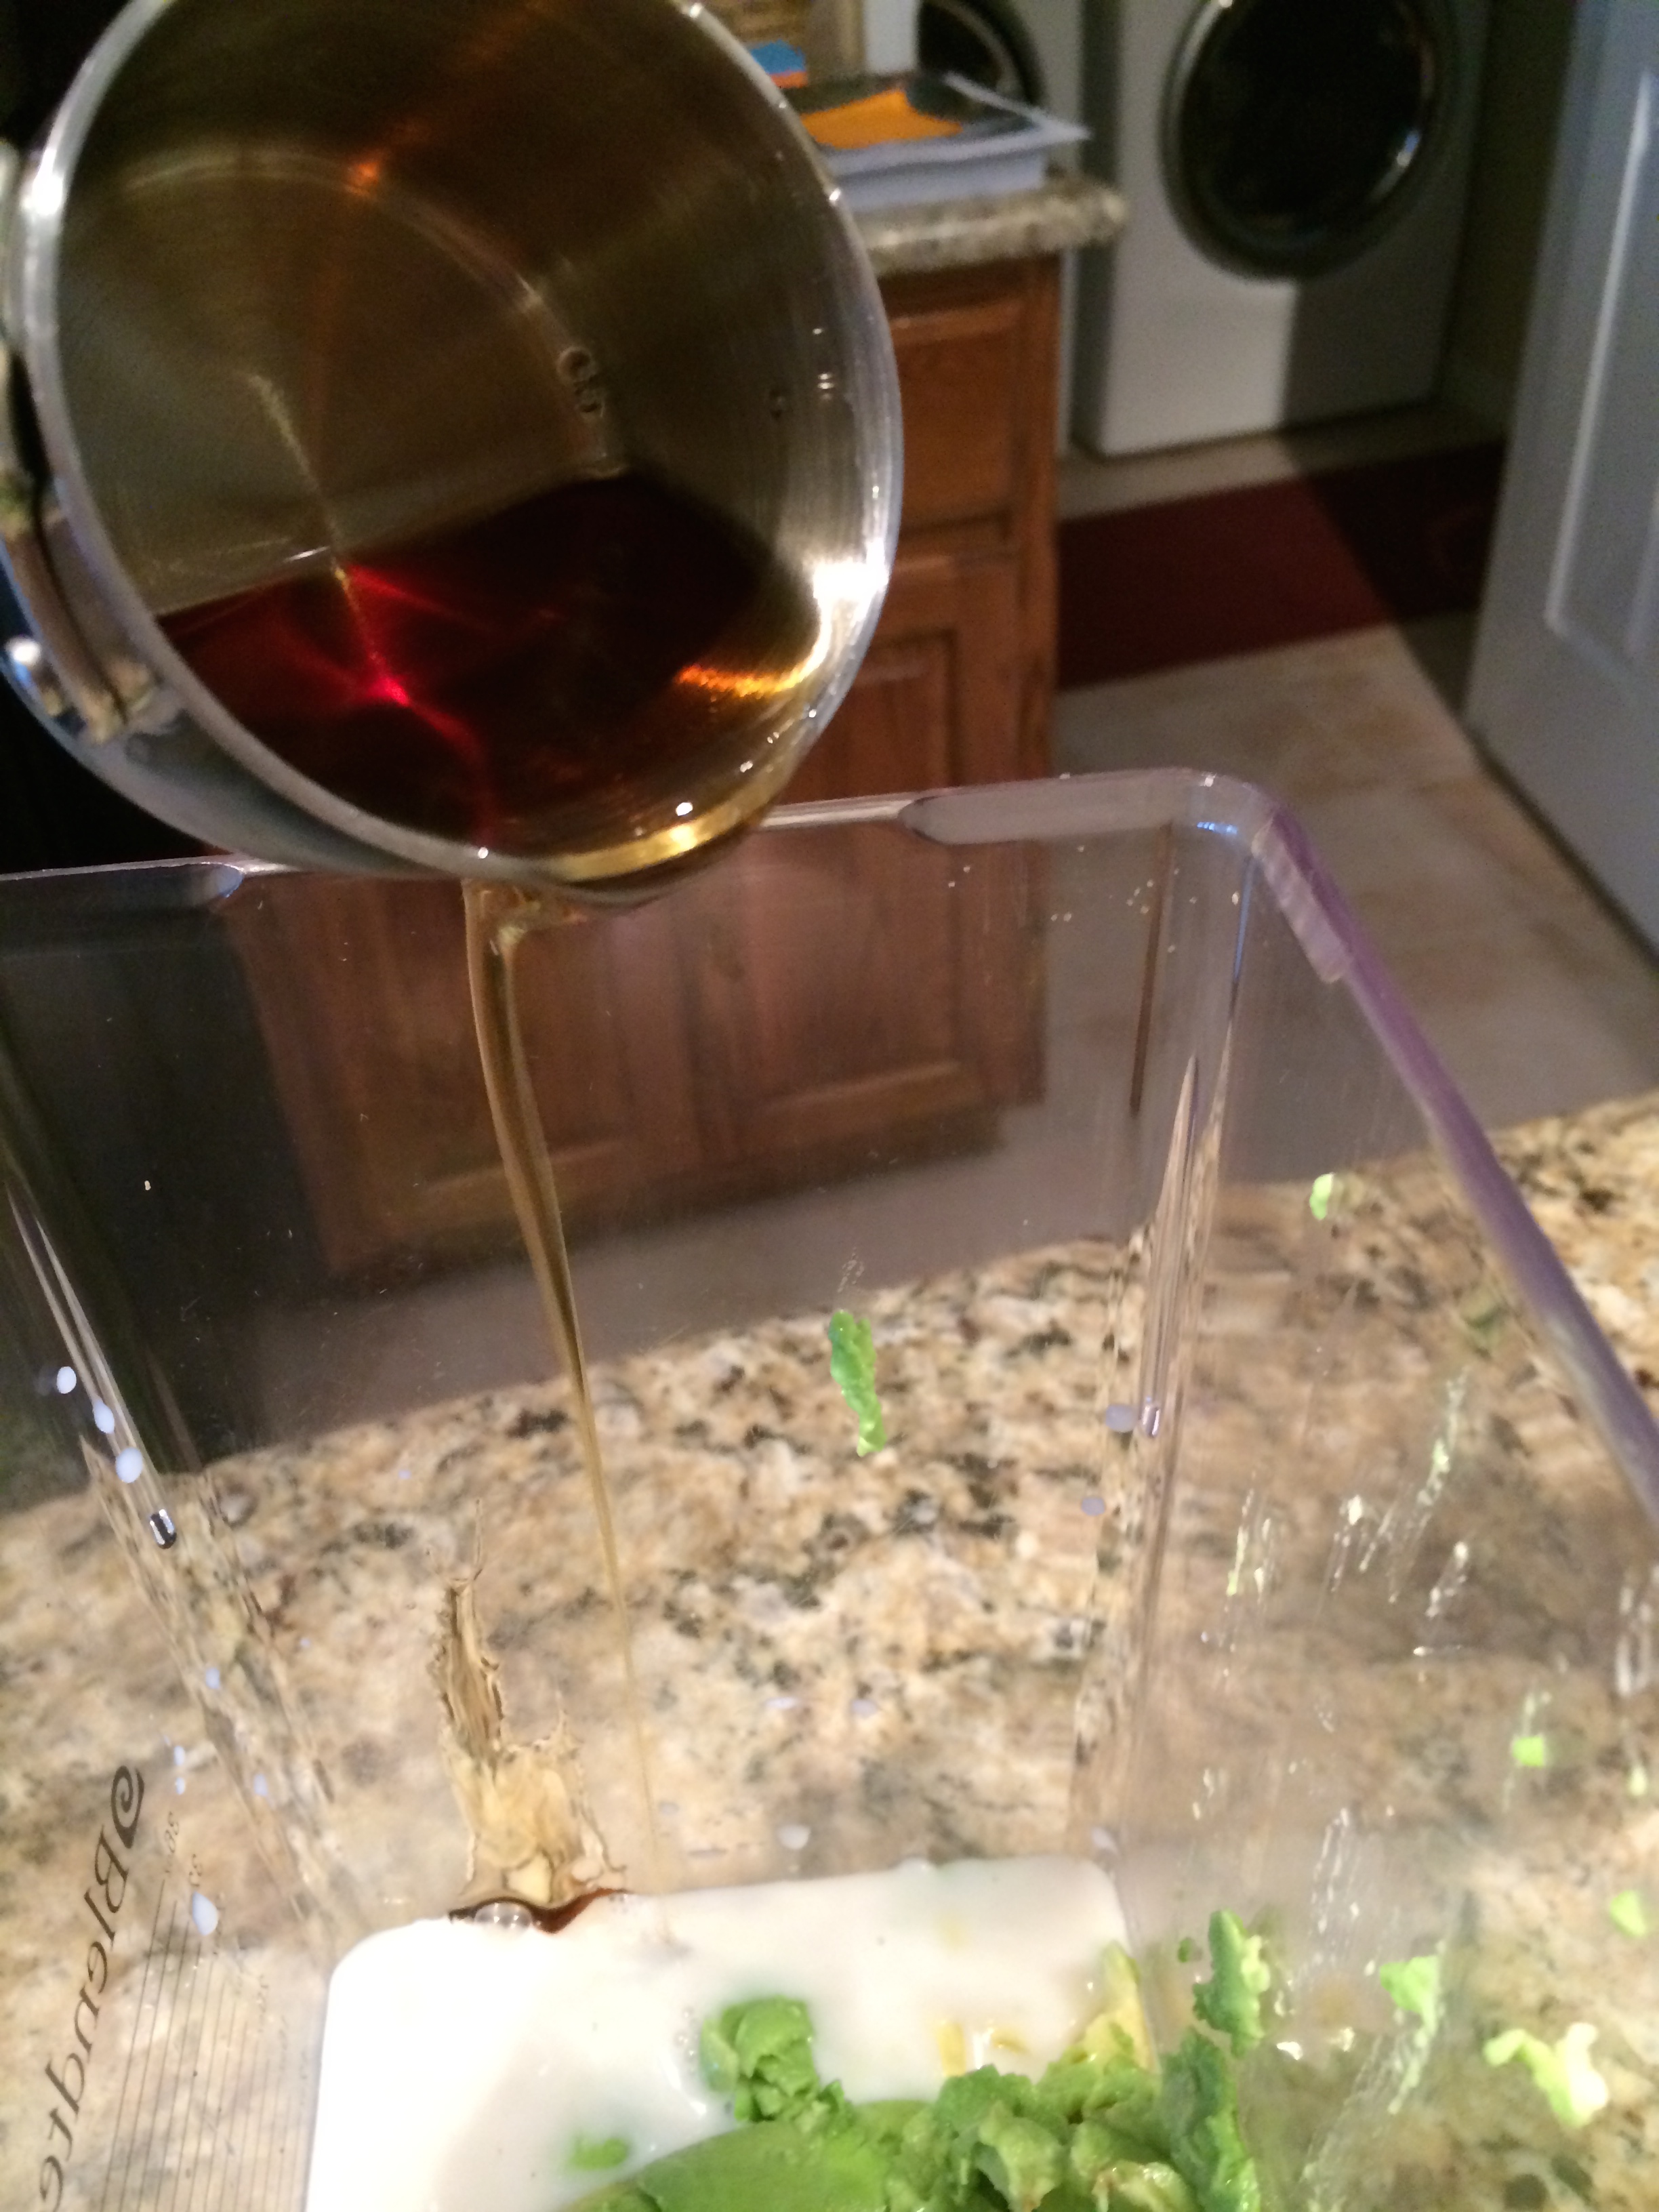
1/2 Cup Pure Organic Maple Syrup**

1/2 Cup Almond Milk

2 Tsp Vanilla Extract

IMG_7618


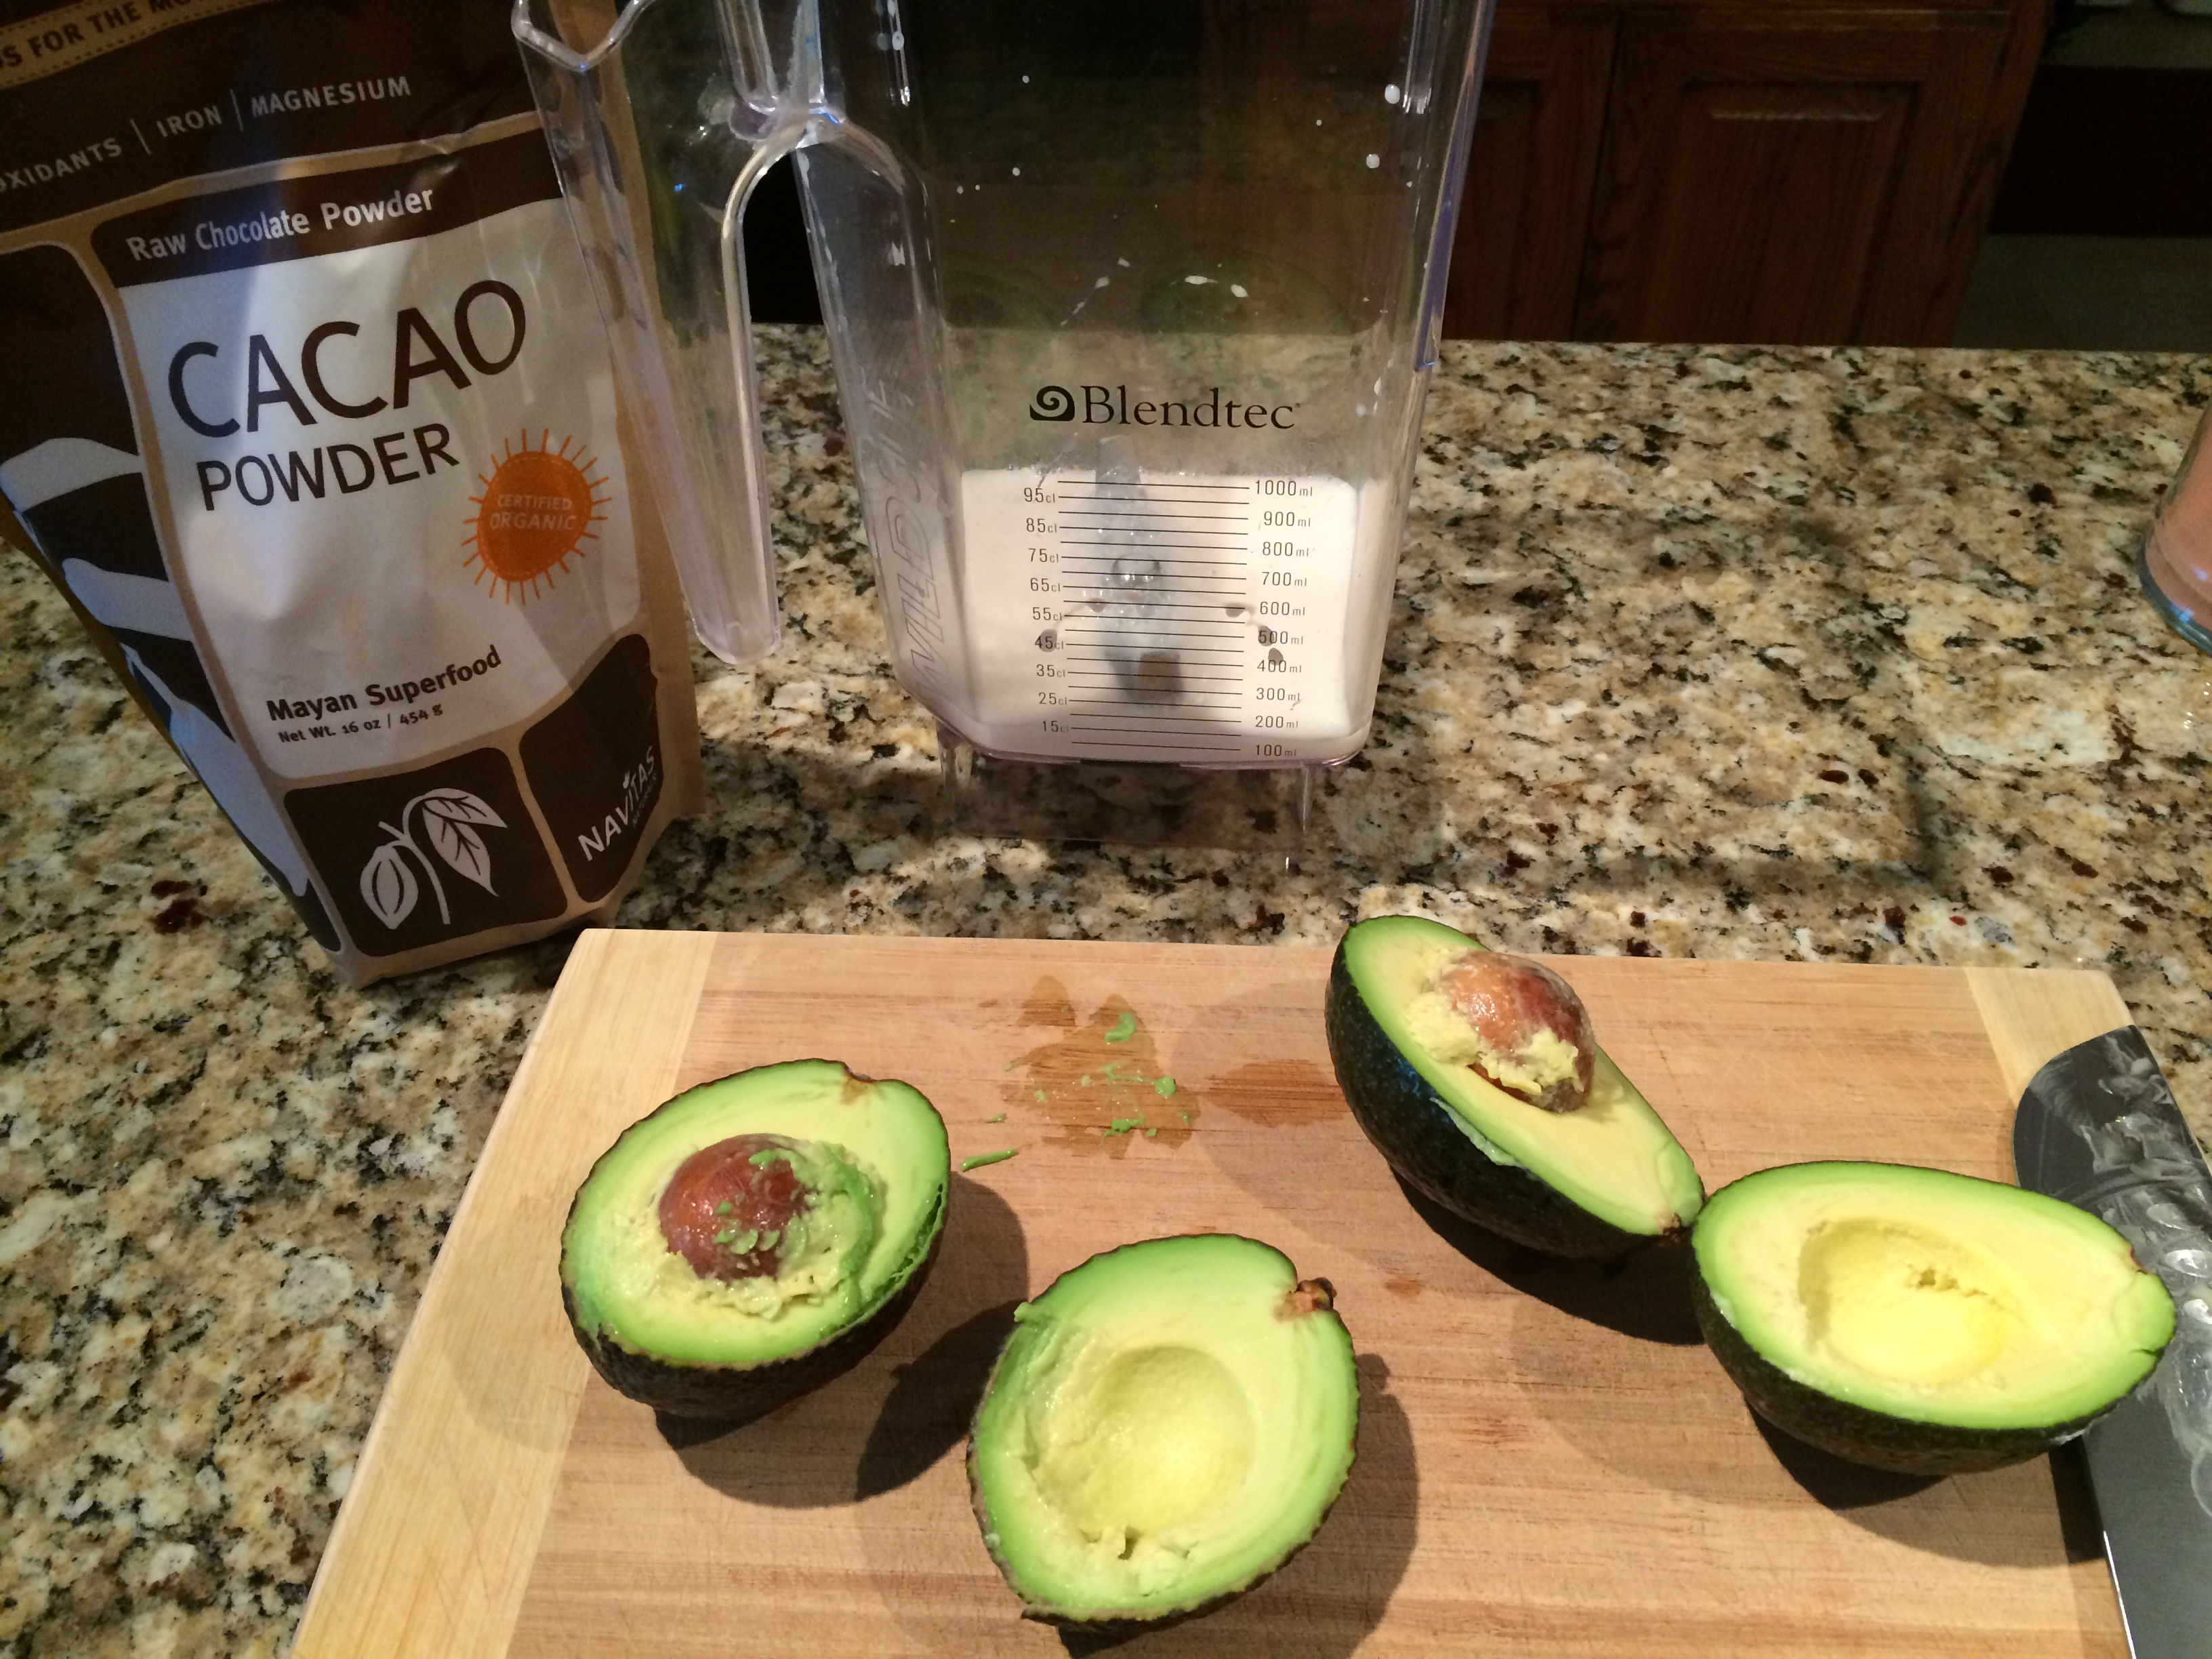
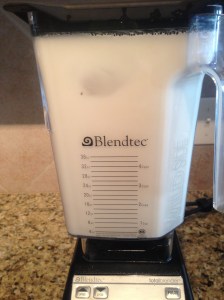
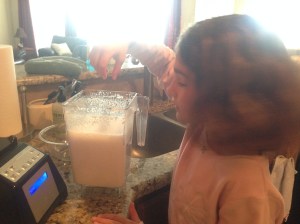
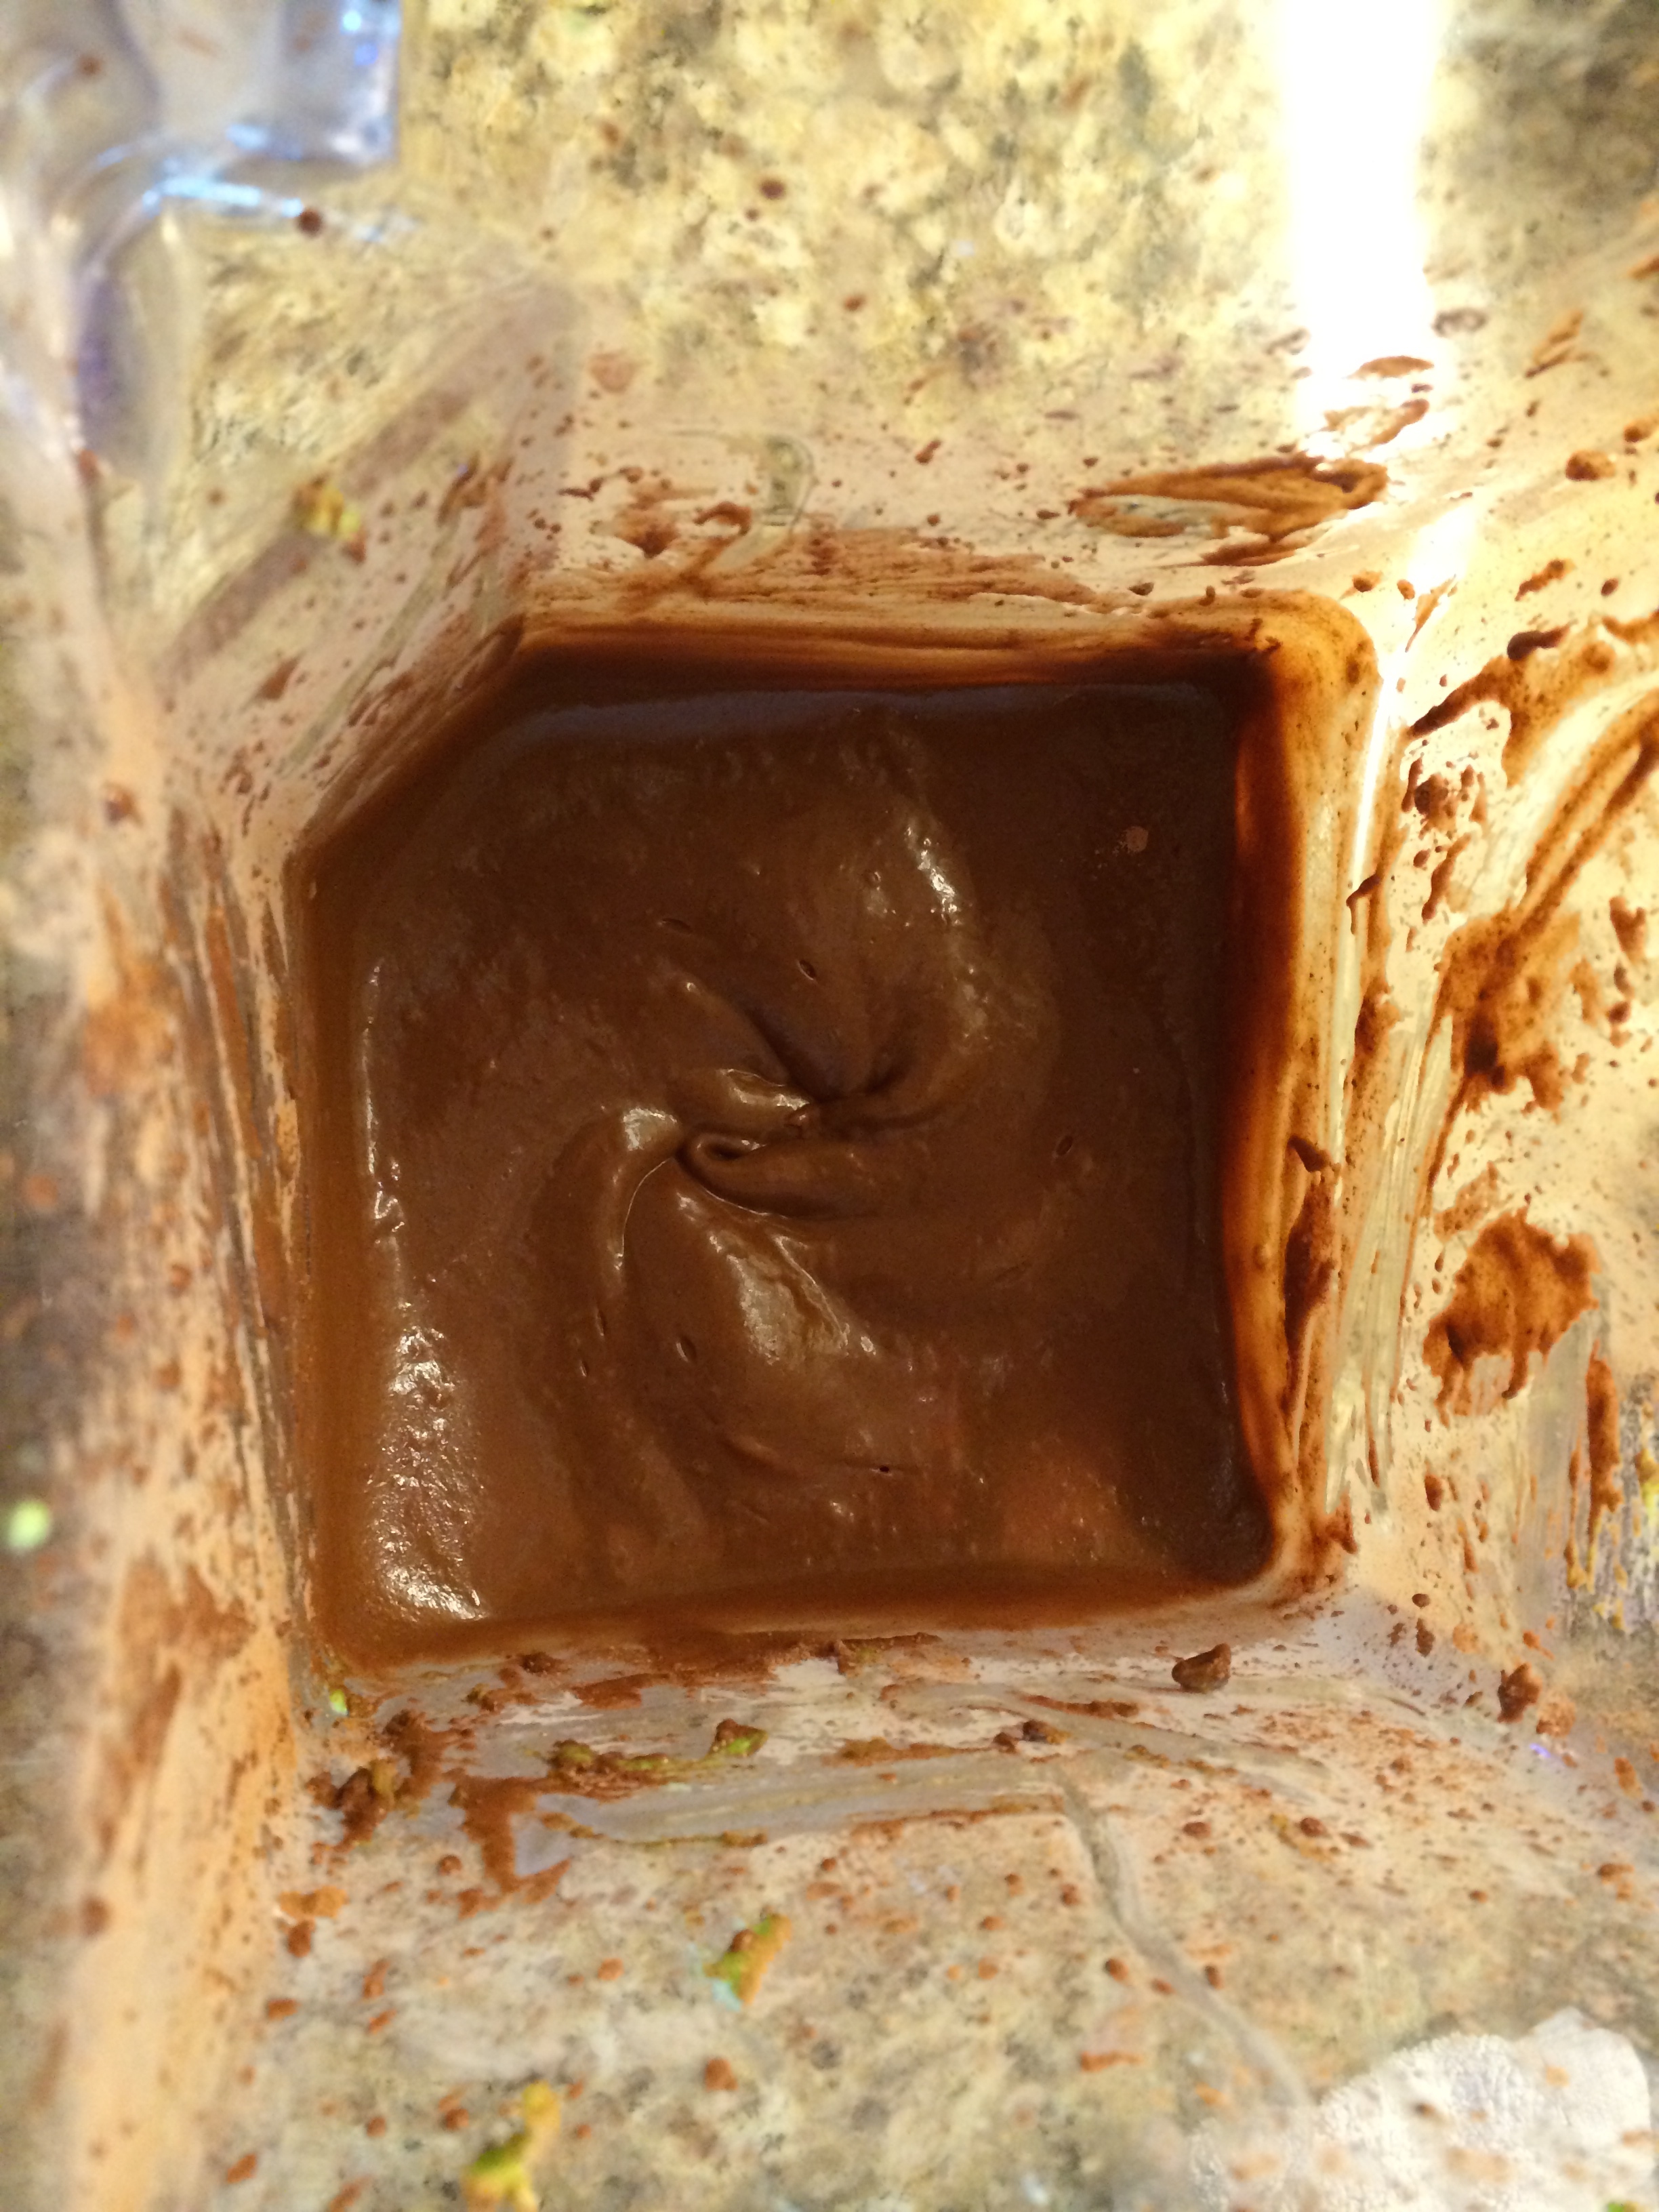
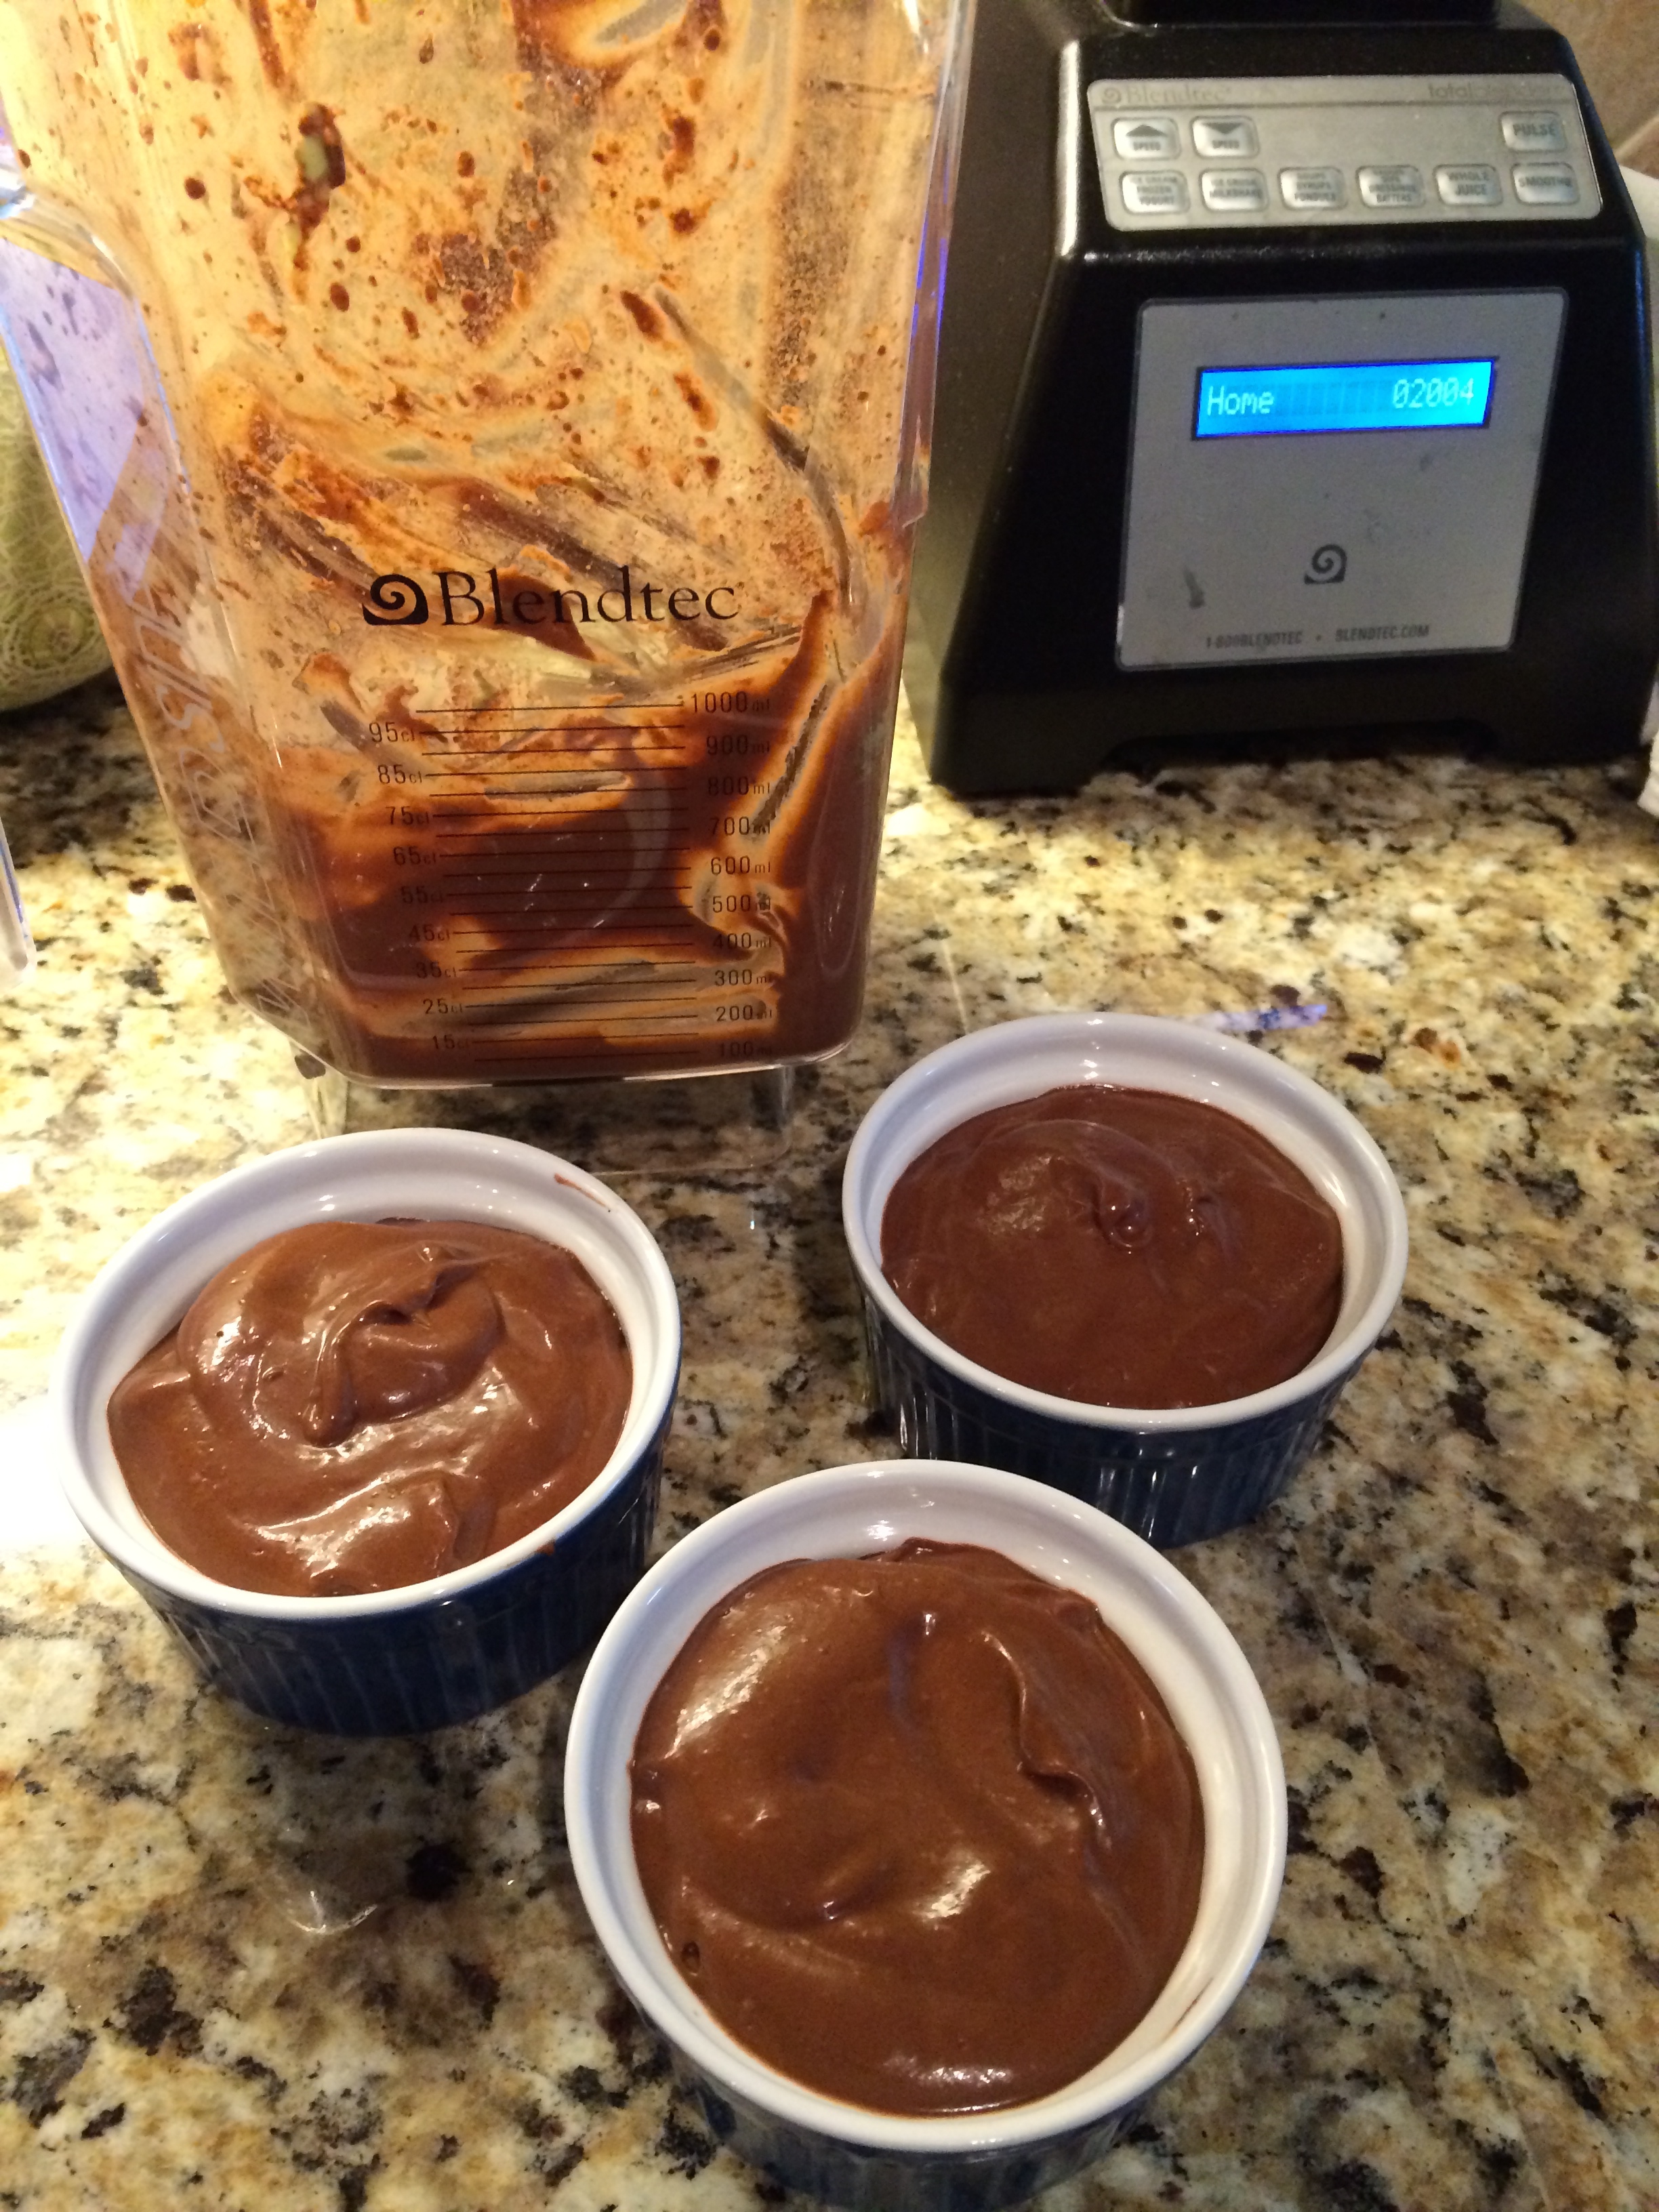
  • Puree/Blend until smooth.  I used my Blendtec blender so it took less than 30 seconds to blend it all.


IMG_7634


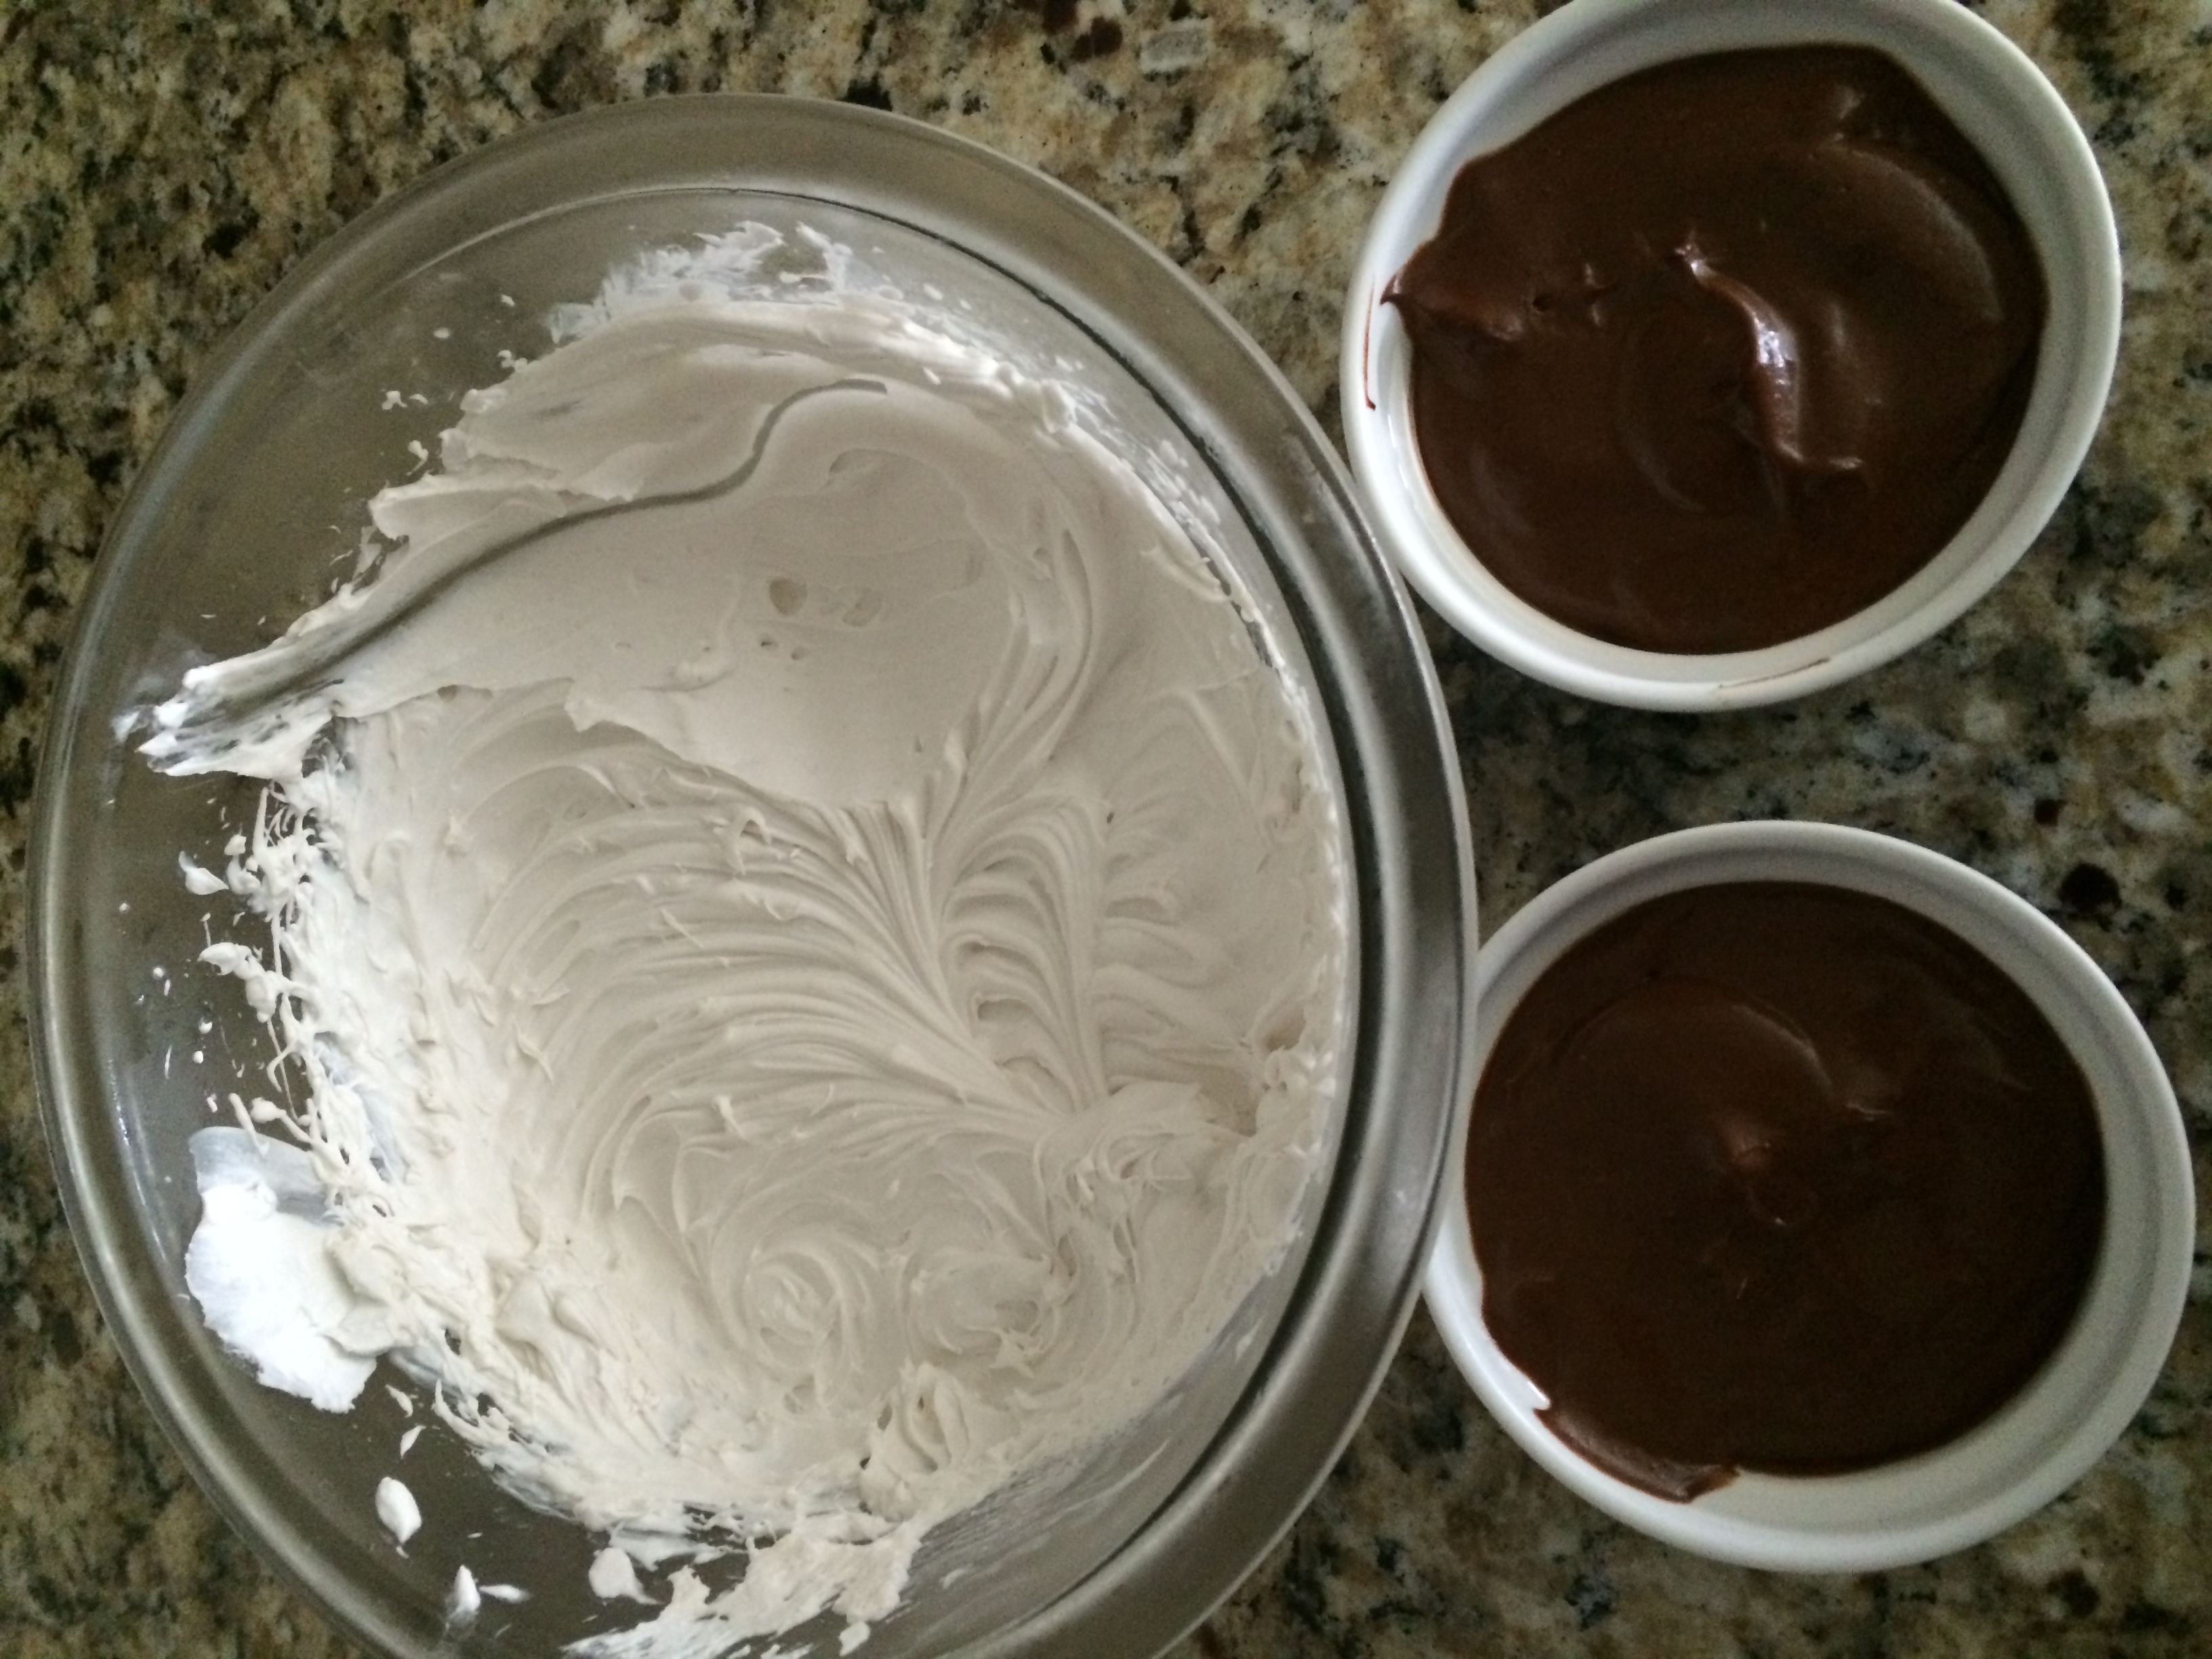
  • Pour into ramekins and chill at least 1 hr or longer depending how firm you would like it.


IMG_7635


* I used Navitas Raw Cacao Powder since it has so many extra  good goodies in it like: iron and magnesium, polyphenols, flavonols, theobromine, omega fatty acids and antiodxidants that are beneficial to our bodies.  But, it does give it a bit of a more dark chocolate, slightly bitter taste.  This recipe will work with any cacao powder you choose.*


IMG_7625


**I chose organic maple syrup as our sweetener since it also provides beneficial minerals/vitamins like zinc, calcium, iron, potassium and manganese as well as containing anti-inflammatory and antioxidant properties.**

IMG_7622


Some modifications I will most likely do in the future are the following:

1.  Reduce the amount of raw cacao: think it may have been a bit too bitter for my son even though he said he liked it.  He prefers a more milk chocolate flavor while my daughter likes the more dark chocolate taste.

2.  Use vanilla bean instead of the vanilla extract

3.  Use my homemade almond milk instead of the store bought I had on hand.


Of course, chocolate mousse is not complete without some whipped “cream”.  But if you’re like my daughter and myself with a dairy intolerance, you can sometimes feel left out :(.  But, NEVER FEAR!!! Marci is here! 😀

IMG_7647

Coconut Whipped Cream

1 Can Full Fat Organic (if it fits your budget) Coconut Milk

2 Tsp Sweetener of Choice

1/2 Tsp Vanilla Extract


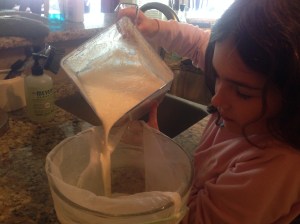
  • Place can of coconut milk in fridge over night.  This separates the thick cream from the liquid.
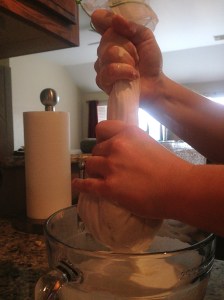
  • Scoop out the thick cream.  Make sure not to scoop out any of the liquid.  Save the liquid for later use in smoothies, juices, etc
  • Whip up the thick cream until soft peaks form
  • Add in sweetener and vanilla extract.  Amount will vary depending on your sweetener and your tastes.
  • Whip again until fluffy
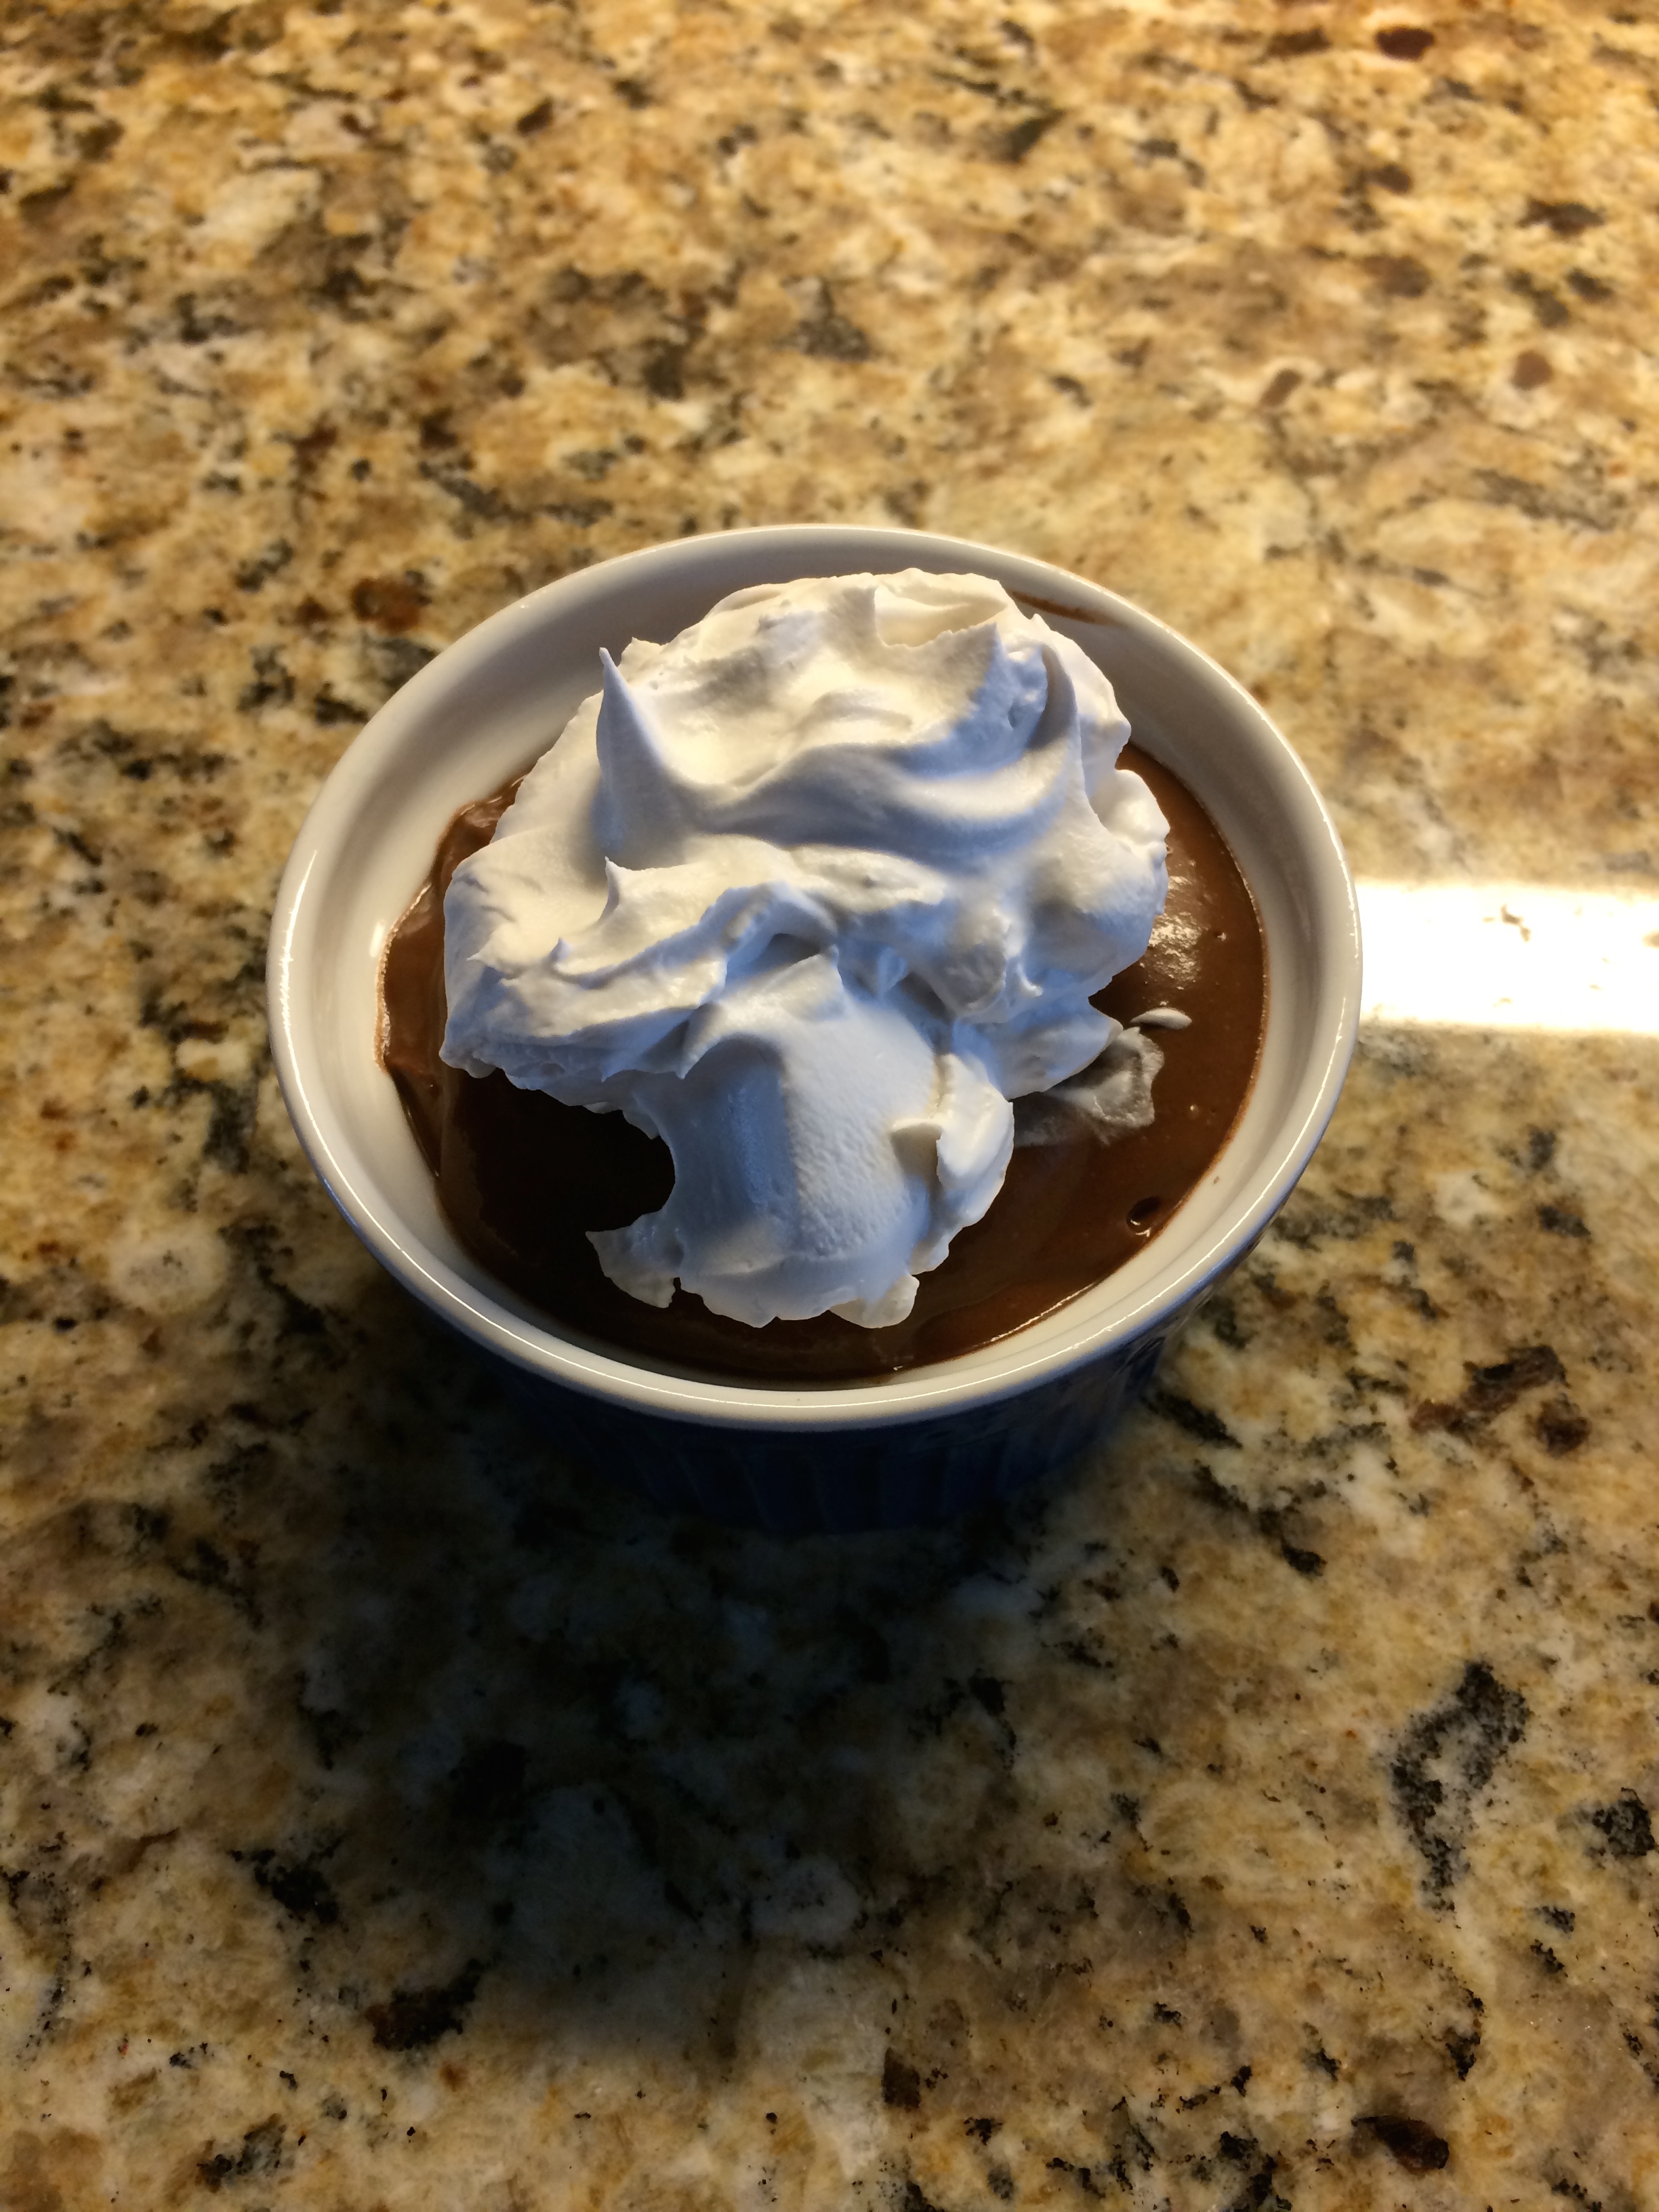
  • Top mousse and enjoy

IMG_7642


**Leftovers will stay well in the fridge for numerous days.  Might firm up so just use a spoon to re-whip.  I used mine in my coffee this morning.**


Modification in future:

1.  Will use vanilla bean instead of vanilla extract


I think you will enjoy this nutritious yet delectable treat.  I know my children did!


IMG_7651 IMG_7648


Enjoy!

~Marci

IMG_7636


Core Workout 2/27/14

My life has been pretty hectic lately, so I have been designing efficient and effective home workout routines.  After several hours studying yesterday for my personal trainer certification, I needed a good core workout to work out those kinks in my back and strengthen my abdominal muscles.  I utilized some basic equipment I keep on hand for home workouts.

Core Workout Equipment

Core Workout Equipment


All of these items can be found at your local sporting goods store, big box retailer or Amazon.com):  

  1. Gymboss Interval timer
  2. Ab Wheel
  3. Stability Ball
  4. Medicine Sand Ball
  5. Kettlebell 


I was able to perform this routine in roughly 30 minutes and definitely feel the “GOOD” soreness in my abs today! 😀

30 Minute Core Workout

30 Minute Core Workout

30 Minute Core Training

3 Rounds ( So, Set Interval Timer for 30 seconds WORK, 30 seconds REST  30 SETS)

  1. Ab Wheel Rollouts
  2. Spiderman Planks **
  3. Boat Pose (optional: w/ weight) 
  4. Punch Planks**
  5. Side Planks w/ Rotation (***Make sure to switch to the other side before moving onto the next exercise***)
  6. Walking Planks**
  7. V-Ups (optional: w/ weight)
  8. Shoulder Tap Planks**
  9. V-Ups w/ Stability Ball (Passing ball between hands and calves)
Boat Pose

Boat Pose

V-Ups with Stability Ball

V-Ups with Stability Ball


**To make the exercise more challenging, use stairs, chair or bench to put you into a decline position.  Boat Pose and V-Ups with weights are optional-they will add more challenge**


I followed this workout with some self massaging using my Trigger Point Grid Foam Roller.

Enjoy! 😀

~Marci

Chest/Triceps/Abs Home Workout

Yesterday was cruddy (weather wise) and I wanted a simple yet effective workout to perform at home. So, I designed this chest/triceps/abs workout to do in my hallway, utilizing equipment I had on hand, my stairs and a dining room chair.

Chest/Triceps/Abs Home workout

Chest/Triceps/Abs Home workout

Home EquipmentMany of these exercises can be done WITHOUT the use of equipment.  For example: pushups can be substituted in for the chest presses; basic squats can be substituted in for squat throws with the medicine ball; tricep dips on chair can be substituted in for the tricep kickbacks; planks can be substituted in for ab rollouts.  Also, you can use kitchen pantry items as your weights if you don’t have any “typical” weights on hand.  Just pick items that are heavy enough that by the 14th rep it is difficult and that they are NOT BREAKABLE. 🙂

Workout:

In each circuit, go exercise to exercise without rest.  Rest 1 Minute after each circuit round.  Move onto next circuit once all rounds from previous circuit are completed.  As far as reps, aim for 15-20 at a weight that is challenging by the 2nd to last rep.

Warm Up

Run Stairs 3 mins

Circuit 1: Repeat 4 Times 

  1. TRX Chest Presses- Low and Wide Stance
  2. Dumbbell Chest Presses on BOSU
  3. Dumbbell Chest Flyes on BOSU
  4. Decline Planks with Shoulder Tap on Stairs
  5. Decline Spiderman on Stairs
  6. Squat Throws w/ Medicine Ball

Circuit 2: Repeat 4 Times

  1. Decline Pushups on Stairs
  2. Tricep Dips on Chair with 1 Leg Elevated: Switch legs halfway through.  (You can do a basic dip with legs bent.  Elevating leg increases challenge)
  3. Walking Planks.  (Feet on stairs for additional challenge)
  4. Kettlebell Tricep Kickbacks

Circuit 3: Repeat 3 Times

  1. Mountain Climbers: 40 Seconds
  2. Ab Rollouts w/ Ab Wheel: 15-20 reps
  3. Plank: 2 mins (Start with 30 seconds and progress by adding 15 seconds as it becomes easier)

Stretch

IMG_5308

If you are PRETTY (aka NOT DRIPPING IN SWEAT) by the end of the workout, then you did not push yourself hard enough.

IMG_5312

Enjoy!

~Marci

At Home Leg and Ab Workout 1/29/14

It’s that time of the year when I dread hitting the gym at my normal time, right after dropping the children off at school.  I usually spend about 1 hour doing an active workout and 15 minutes stretching.  However, once January 1st hits, I usually do as many home workouts as I can until mid February when the resolution exercisers decide to ditch the gym.

I like to plan out my workouts and being that today was my leg and ab day, I designed a fairly quick and efficient workout to perform at home before we had painters arrive.

Warm Up: Run Stairs 3 minutes.

Legs: 5 rounds 30 seconds work, 30 seconds rest before moving to next exercise.

  1. BOSU Squats with 20 lb Kettlebell
  2. Walking Lunges using Bodyweight
  3. TRX Jump Squats
  4. Hamstring Curls on Stability Ball
  5. TRX Reverse Single Leg Lunge (Repeat on opposite leg)
  6. One Arm Kettlebell Swings with 20 lb bell

***You don’t need the equipment I have to perform these exercises.  Standard squats are fine.  Reverse lunges are a good substitution for the TRX lunges.  You can use dumbbell for stationary squat instead of the swing.***

Abs: 5 rounds 30 seconds work, 30 seconds rest before moving onto next exercise. 

  1. Decline Punch Plank
  2. Decline Walking Plank
  3. Decline Shoulder Tap Plank
  4. Decline Spiderman Plank

*** I used my stairs to help with decline.  You can do these flat on the floor***

I  had a decent calorie burn after this workout:

Leg/Ab Calorie Burn

Leg/Ab Calorie Burn

Enjoy!

~Marci

Living Fearlessly

WE ALL FEEL FEAR-it’s what makes us human. Fear can be a powerful driving force-stimulating or debilitating, depending on how we CHOOSE to utilize it.  I have always been one to encourage others to push beyond their boundaries, to embrace their apprehension and fear in order to better themselves.  My philosophy is: to live one’s life to the fullest with NO REGRETS.  I DO NOT want to be on my deathbed wondering why I didn’t try a new activity, experience, career, etc.

Many of us set out on career path very early on in our lives, so we attend a college/university/technical school with a direction in mind and usually come out more confused than ever!  This happened to me.  I have always been interested in the sciences, nutrition, health, physical fitness, and the well being of others.  I attended the University of Texas at Austin with the intention of becoming an oncologist with a focus in research.  However, FEAR, took over me and I DID NOT take the MCAT (the test required to apply for medical school).  I WAS AFRAID.  Afraid that I would not get the score I wanted (I also have perfectionism issues); afraid to take on a HUGE financial responsibility only to find out I would not like it; afraid I was doing this for others and not myself; afraid that I would no longer be in the relationship with the man I eventually married.  In the end, FEAR won.  It was so counterintuitive to what I believe and how I normally live my life.  I eventually went into cancer research and assisted others in their cancer journey until I chose to stay home to raise my children.

Although I am grateful to have had the opportunity to be a stay at home parent these past 9 years, I feel a part of me has been dormant.  The part that needs self fulfillment, intellectual and personal growth,  passions and desires achieved.  These years at home, MY LOVE for fitness, nutrition and health has never wavered.  I have used my passion to teach my children the importance of feeding our bodies the correct nutrients to thrive as well as helping friends and family start their own personal health journey.  I knew I wanted to be a personal trainer but I did not want to work in a gym (those trainers irritate me).  Yet, I didn’t pursue the certification process.  Initially, I said:  “I can’t do it because of the cost for the courses and test.” or “I don’t want to be like those other trainers in the gym.” or “What about if I don’t like it?”  Well,  these were ALL EXCUSES because I had been allowing FEAR to control me… It didn’t matter that numerous friends and family members told me I would be awesome at it, the FEAR was too gripping and paralyzing.  What about if I failed?  What if nobody will use my services?

Being on the cusp of a life changing event (moving to a completely different state) and after thoughtful contemplation, I have decided that it is NOW time for ME to LET GO of FEAR and embrace MY LIFE.  I will ALWAYS help promote the passions of those I love and care about, but it is NOW MY TIME to fulfill my dreams.  So with that, I have decided to pursue my interest in fitness and receive my personal training certification.

This decision brought so much peace and happiness to my heart and mind.  I have started researching various places to receive my certification and tomorrow I will call these places for more information.

I AM now LIVING FEARLESSLY!!! It’s liberating!

~Marci

Vanilla Almond Milk Recipe

My children love to help me cook, bake and create in the kitchen.  So, I used this interest to my advantage this morning and had my daughter assist me in making our almond milk.

Last night, I soaked 1 cup of almonds in water.  I soaked them for about 8 hours.  While I was making breakfast and our morning smoothie, I peeled off the skins off the almonds and rinsed them thoroughly.

Soaked and Peeled Almonds

Soaked and Peeled Almonds

My daughter enthusiastically dumped 1 cup of peeled almonds into the blender that was filled with 4.5 cups of filtered water.  

Blending Almonds and 4.5 cups of Water

Blending Almonds and 4.5 cups of Water

Once the almonds and water were blended once, my daughter added 2 organic, pitted dates to the blender.  Dates are a wonderful natural sweetener!

Adding 2 Pitted Dates

Adding 2 Pitted Dates

Once the dates were added, 2 vanilla beans were split and scraped into the blender.

Splitting the Vanilla Bean

Splitting the Vanilla Bean

The almond milk was blended once more and then strained through a nut bag while squeezing out the milk. 

Pouring milk into the nut bag

Pouring milk into the nut bag

Squeezing milk out of the bag

Squeezing milk out of the bag

Once the milk was all squeezed out and pulp discarded, the milk was poured into 2 Ball jars and sealed.

(Normally we would compost the pulp, but we are moving in the near future so we have to reduce our composting.)

Sealing the jars

Sealing the jars

The finished product

The finished product

**Many people also dehydrate the leftover almond pulp to make yummy goodness like almond flour.  We don’t have a dehydrator YET (hmmm…possible Christmas gift idea!)** 

Having children help in the kitchen is a great educational opportunity (enhances math and science skills while learning the importance of nutrition).  Also, the sense of accomplishment they achieve in creating something delicious is priceless!

Enjoy!

Marci

Garlic Lemon Fish

While painting was getting done in the house and the children were still home from school last week, we drove to Houston to visit my parents.   My kids love their grandparents and it is always a grand adventure filled with tons of playing with grandma and grandpa and LOTS of yummy, decadent food (especially desserts-DOH!!!  Sugar coma for my children!)  

My dad requested that I make one of my signature dish and a favorite in our house for dinner one evening.  So, being the wonderful daughter that I am, I happily made this delicious fish recipe!

Garlic Lemon Fish

Ingredients:

  • 4-6 fish filets
  • 3-5 garlic cloves
  • About 6 lemons
  • Butter
  • Olive Oil
  • Salt, pepper, herbs de provence, paprika
  1. Heat oven to 425
  2. Mince garlic
  3. Cut and juice lemons
  4. Melt about 1/2 stick of Butter (yep, it’s butter but that’s okay!)
  5. Saute minced garlic in olive oil until fragrant (about 30-45 secs–do this over a low to med heat).  Remove from heat
  6. Combine sauteed garlic with the melt butter, juice from lemons, 3 tbs olive oil
  7. Pat dry fish filets.  (To determine whether you should use wild caught vs farm raised fish, please visit Blue Ocean Institute)
  8. Place fish in baking dish coated with olive oil
  9. Pour lemon garlic butter over fish
  10. Season fish filets with herbs de provence, salt (I prefer Himalayan salt since sit also contains other minerals), pepper, paprika (smoked or sweet).
  11. Bake for roughly 25 minutes.  May need to bake longer if using frozen fish.

Garlic Lemon Fish

I like to cook brown rice while I am prepping and the fish is baking.  I will top the rice with the fish and some of the sauce.  I will serve alongside it a nice large leafy green salad loaded with veggies and my homemade dressing.   An excellent nutritionally complete meal!

Enjoy!

~Marci

Happy New Year!

It’s that time of year when we are inundated with body shaming messages via the media, stores and even our family and friends.  

Here are some common self hatred phrases I have seen, heard and read on social media, over the radio and from friends and family:

“Lose That Holiday Weight”
“What Are Your Diet Resolutions?”
“Get a Bikini Ready Body in Time for Spring Break!”
“Ate Too Much Over the Holidays? Jump Start your Weight Loss!”

And on and on…

Thankfully, this is also the time of year when I weed out those social media people/companies/athletes I follow who perpetuate the self hatred. Over the past few years, I have learned to love myself more and embrace who I am– flaws and all.

The flaws are what makes us beautiful,.. NOT perfection. When you look in the mirror, focus on the good of what you see and know about yourself. You are NOT defined by any singular aspect of your physical being.  Don’t let negativity seep into that amazing brain of yours.  Focus on what you want to accomplish in 2014 to enhance your existence on this awesome planet of ours.

Feed yourself with positivity and truly LIVE your best year yet!!

Happy New Year! 

~Marci

Happiness Project: Day 3

Today has been a roller coaster of emotions for me.  It’s been 1 week post surgery and my abdomen is still swollen and I am unable to do “vigorous exercise”.  Although I want to do my high intensity workouts, physically I am still very sore.  And that is the crux of my problem.  See, exercising is my way to deal with my anxiety.  It eases my stress and puts me in a place of “seeing” clearly.  So, in the meantime while I “know” I need to “take it easy”, I also am focusing even harder on the things that make me happy each day. 

Without further adieu, here are today’s Happies:

  1. Drove my kids to school this morning!  I normally drive them every morning but since my surgery a week ago, I have been unable to.  The time I spend holding my children’s hands as I walk them into school is PRICELESS!
  2. Enjoyed a very nice healthy lunch with my husband at Whole Foods and was able to grocery shop (although slowly pushing the cart).
  3. Got the AWESOME news from the pathologist that they DID NOT find cancer in my fallopian tubes.  I have other a “female issues” that were addressed with the surgery and a history of problems that I will blog about later.

So, while there are some issues I am still struggling with emotionally and the other day to day life obstacles, there are still those precious nuggets of happiness that SHINE above all else.

What happened today that has brought the sparkle to your life?

~Marci

Happiness Project-Day 2

It’s Day 2 on my quest to journal what makes me happy and inspire those to find the happiness in their daily lives.

It’s only mid-day here in Central TX so I still have a lot more opportunities to add Happiness in my life today, but here are some that I have already experienced.

  1. Woke up without the use of an alarm and made my family breakfast!  This may not seem like much but since my surgery last Thursday afternoon, I have had the help of either my mother, husband, or kids to wake me up as well as preparing meals for themselves. Making breakfast for my family and seeing my kids off to school are some of my most important daily activities.  Knowing I am providing my family with a nutritious meal to see them through their morning and having my kids arrive safely at their school makes me extremely happy!
  2. Gathered up more items for our neighborhood garage sale-WOOHOO!  Most of my family and friends know I dislike clutter and “stuff” so when a garage sale opportunity arises, I get so excited to purge the excess from our home.
  3. A very close friend, I haven’t seen in awhile, brought me lunch and wanted to check in on me.  I hold friendships very close to my heart and it means the world to me when someone I respect takes the time out of their day for me.
  4. It’s another beautiful Fall day in Austin, TX: clear blue skies and 80 degrees.  Not too hot and not too cold.  As Goldilocks says “it’s just right”!

So, what are some of your Happies today?

~Marci